
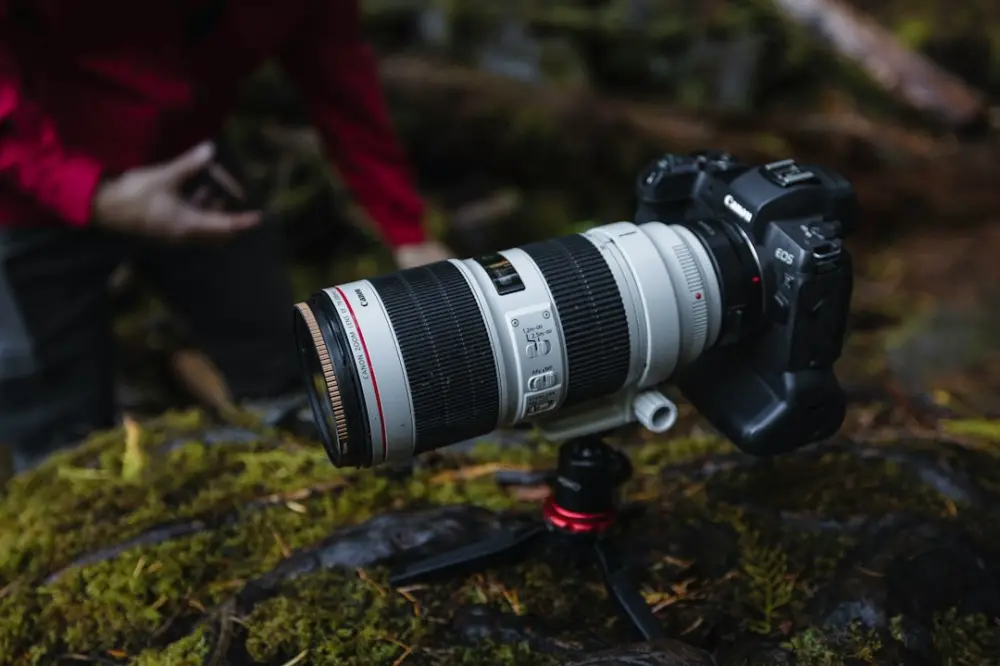
Gigapixel panorama workflow basics involve a systematic method of capturing and assembling hundreds or thousands of high-resolution digital images into a single file exceeding one billion pixels. This process requires a telephoto lens to capture fine detail, a specialized panoramic head for precise rotation, and software capable of aligning a complex mosaic of overlapping frames.
Moving beyond a standard wide-angle shot, this workflow allows you to document a scene with enough clarity that a viewer can zoom from a broad vista down to the texture of a single leaf or a distant window. In 2026, while sensors have improved, the fundamental challenge remains the same: maintaining absolute consistency across every frame in the grid to ensure a seamless final blend.
What is a Gigapixel Panorama?
A gigapixel panorama is defined by its scale. While a high-end modern camera might produce a 50 or 100-megapixel file in a single shutter press, a gigapixel image is at least ten times that size. By using a long focal length—such as a 200mm or 400mm lens—you capture a very narrow field of view with immense detail. To cover a wide scene, you must take a series of photos in a grid pattern, moving the camera slightly between each shot.
For example, a photographer standing at an overlook in the Grand Canyon might use a 300mm lens to capture 500 individual images. When these are stitched together, the resulting file allows a viewer to see the geological strata of a cliff face miles away as if they were standing right in front of it. This level of resolution is impossible with a single-shot wide-angle lens, which would spread those same pixels across the entire horizon, losing the fine textures in the distance.
Necessary Gear and Test Shooting Basics
Successful gigapixel photography relies on stability and precision. A standard tripod head is rarely sufficient because it does not allow the camera to rotate around the lens's entrance pupil, which is essential to avoid parallax errors. You will need a multi-row panoramic head, either manual or robotic. Robotic heads, like those from the GigaPan or Pine series, automate the movement and shutter release, which is particularly helpful when shooting grids of 200 frames or more.
Before committing to a massive shoot, perform a test to find the no-parallax point of your specific lens and focal length. Set up two vertical objects—like two light stands—one five feet away and one twenty feet away. Rotate the camera; if the closer object appears to shift against the farther one, your camera is not centered on the nodal point. Adjusting this ensures that when you move to panorama stitching software explained in later steps, the frames will align without ghosting or jagged edges.
How to Take Gigapixel Panoramic Photos
Capturing the source images is a repetitive but critical task. Any variation in exposure or focus between frames will create visible seams in the final output. Follow these steps for a consistent capture:
- Lock Your Settings: Switch the camera to full manual mode. Set a fixed ISO (usually 100 or 200 for maximum dynamic range), a consistent aperture (f/8 or f/11 is often the sweet spot for sharpness), and a fixed shutter speed.
- Disable Auto-White Balance: Set a specific Kelvin value or use a preset like "Daylight" so the color temperature does not shift as the sun moves or clouds pass.
- Manual Focus: Focus on a primary subject about one-third of the way into the scene and then switch the lens to manual. Secure the focus ring with a piece of gaffer tape if necessary.
- Define the Grid: Determine your start (top-left) and end (bottom-right) points. Ensure an overlap of at least 30% to 40% between frames both horizontally and vertically. This provides the software with enough redundant data to find matching features.
- Execute the Sequence: Start at the top row and move horizontally. Once a row is finished, drop down and start the next. In 2026, many photographers use electronic shutters to eliminate the mechanical vibration that can soften images at long focal lengths.
A concrete example of this would be shooting a city skyline at dusk. You might start at the top-left corner of the tallest skyscraper and work your way across the sky, then down to the building facades, and finally to the street level, ensuring each row overlaps the one above it by nearly half a frame.
Stitching and Post-Processing the Workflow
Once you have your hundreds of RAW files, the heavy lifting begins on the computer. The first step is usually a batch conversion to TIFF or high-quality JPEG, ensuring all lens corrections (like vignetting and chromatic aberration) are applied identically to every file. If you are working with a massive dataset, high-speed NVMe storage and significant RAM (64GB or more) are necessary to handle the temporary files created during the alignment phase.
The software will analyze the overlapping regions to find "control points"—identical pixels found in two adjacent images. While automation handles most of this, complex scenes like moving water or repetitive architectural patterns may require manual control point selection in stitching to fix misalignments. Once aligned, the software performs a multi-band blend to equalize any minor brightness differences between the edges of the frames.
The final output is often saved as a PSB (Large Document Format) file, as standard PSD files have a 2GB limit which a gigapixel image will easily exceed. For instance, a 2-gigapixel image with a few adjustment layers can easily reach 20GB or 30GB in size.
Related Projects and Video Playlists
To see what is possible with this workflow, look toward large-scale community projects. The 360Cities platform hosts thousands of high-resolution panoramas, including famous captures of Mars from the Curiosity rover and ultra-high-res views of historic libraries. These projects demonstrate how the gigapixel format serves as a tool for both art and preservation.
If you prefer visual learning, several dedicated video playlists on platforms like YouTube or Vimeo cover the nuances of robotic head calibration and advanced masking techniques for large files. Look for creators who focus on "extreme resolution photography" or "computational photography" to see real-time demonstrations of how to manage the logistical challenges of shooting in the field, such as changing light or wind-induced camera shake.
Efficient Large-Scale Stitching in 2026
In 2026, the efficiency of creating these massive images has improved significantly due to better multi-core processing and AI-assisted alignment. However, the core principles of the craft remain mechanical. You cannot "fix in post" a sequence where the camera moved during a long exposure or where the focus drifted halfway through the grid. Success is found in the preparation—checking your tripod's level, ensuring your batteries are full, and verifying that your memory cards have the speed to keep up with a rapid-fire sequence.
The beauty of this niche is the ability to create something that exceeds human vision. When you master the gigapixel workflow, you aren't just taking a picture; you are building a map of a moment in time. At Auto Stitch, we believe that understanding these technical foundations is what allows you to move past the complexity and focus on the story you want to tell. By using these structured steps, you can transform a collection of individual frames into a singular, immersive experience that reveals the hidden details of the world around us.