
Parallax in image stitching occurs when the camera's viewpoint shifts between shots, causing foreground and background objects to misalign. Stitching error correction involves using mathematical algorithms and warping techniques to compensate for these perspective shifts, ensuring that overlapping features match perfectly to create a seamless, ghost-free panoramic image.
When capturing a wide scene, even a slight movement of the camera can lead to misaligned edges. This is particularly noticeable in environments with nearby objects, like a narrow street or a room with furniture. Understanding how to correct these errors is essential for anyone looking to produce clean, high-quality visual records of their surroundings.
Parallax and Stitching Errors Explained
In the context of photography, parallax is the apparent displacement of an object when viewed from two different points. If you take two photos while slightly moving your camera side-to-side, an object in the foreground will appear to move much more than the distant horizon. When you attempt to merge these two photos, the software faces a conflict: it can align the background perfectly, or it can align the foreground, but it cannot do both using a simple overlay.
The result of uncorrected parallax is often "ghosting," where a single object appears twice in a translucent, overlapping fashion. In other cases, you might see a "stitch line" or a physical break where a straight line, such as a power line or a building edge, suddenly jumps a few pixels. These errors break the immersion of a panoramic view. For example, in a tight interior shot of a kitchen, a countertop edge might appear to have a jagged step in it if the camera was rotated around the photographer's body rather than the lens's entrance pupil.
Correcting these errors requires more than just sliding images around. It involves complex geometric transformations. Modern software identifies "control points"—distinct features like corners or high-contrast spots—and uses them to calculate how to stretch or compress specific parts of the image to make them fit. This process helps create stunning panoramas with seamless photo transitions that look natural to the human eye.
Why Parallax Occurs in Panoramic Photography
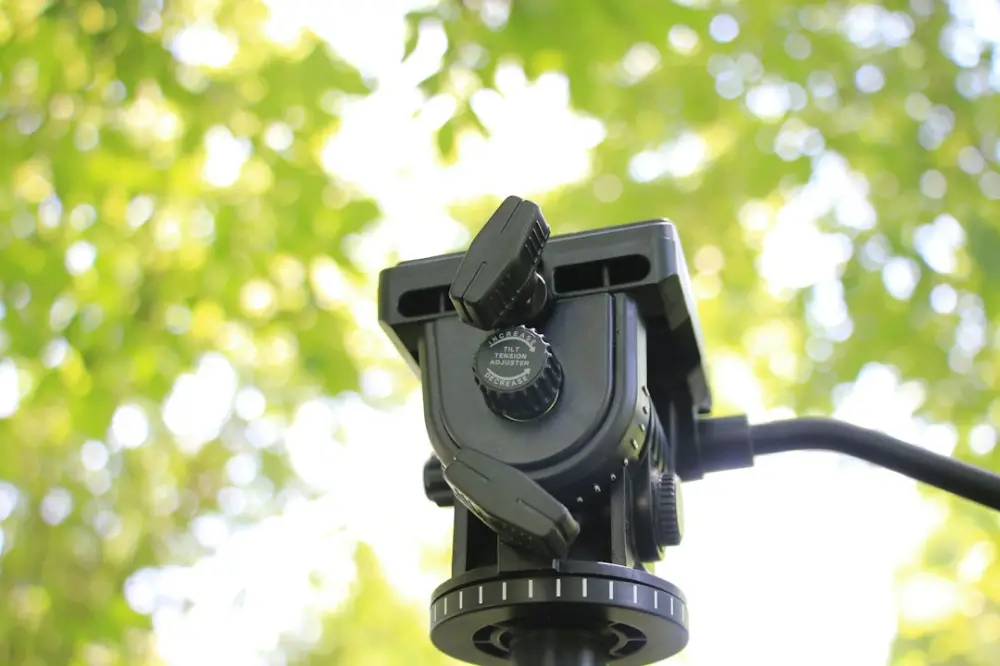
The primary cause of parallax error is the rotation of the camera around an axis that does not pass through its "no-parallax point" (NPP). Many people mistakenly believe this point is the center of the camera body or the tripod mount. In reality, the NPP is located at the entrance pupil of the lens. When you rotate a camera on a standard tripod head or by hand, the lens moves in a small arc. This arc changes the perspective of the scene between every frame.
Consider a scenario where you are photographing a garden with a fence in the foreground and a shed in the distance. If the camera moves even an inch during the rotation, the vertical bars of the fence will shift their position relative to the shed's door. No amount of simple rotation or scaling can fix this because the spatial relationship between the two objects has changed in the 2D projection. This is why handheld panoramas are significantly more prone to errors than those taken with a dedicated panoramic head that keeps the lens entrance pupil stationary.
Environmental factors also contribute to stitching errors. Moving subjects, such as swaying tree branches or pedestrians, create temporal parallax. Even if your camera is perfectly stationary, the movement of the subject between frames creates a mismatch that the stitching engine must resolve through masking or blending techniques.
Techniques for Parallax-Tolerant Image Stitching
To overcome the limitations of physical movement, advanced stitching algorithms use "warping" techniques. Instead of treating an image as a rigid rectangle, the software treats it like a flexible sheet. By applying a local warp, the software can subtly distort the edges of an image to ensure that foreground features align without disturbing the alignment of the background. This is often achieved through a process called "As-Rigid-As-Possible" (ARAP) warping.
Another critical technique is "Bundle Adjustment." This is a mathematical optimization that simultaneously adjusts the camera parameters (like focal length and lens distortion) and the positions of all control points across all images. By minimizing the total distance between corresponding points in overlapping areas, the software finds the most accurate global fit for the entire panorama. This is particularly helpful when the expansive lens: how AI photo processing deals with the complex geometry of ultra-wide-angle shots.
RANSAC (Random Sample Consensus) is also frequently employed. This algorithm helps the software distinguish between "true" matches and "outliers." If a bird flies through one frame but not the next, RANSAC identifies the bird's pixels as an anomaly and prevents the software from trying to align the empty sky of one frame with the bird in another, which would otherwise cause a massive distortion in the sky's geometry.
Local Alignment and Seam-Guided Correction
When mathematical warping cannot perfectly align every pixel, software turns to "Seam Finding." Instead of a straight vertical cut between two images, the software looks for a path through the overlapping area where the differences between the two images are minimal. This path, or seam, might zig-zag around a tree or follow the edge of a building to hide the transition. This is often referred to as "optimal seam cutting" or "graph cut" optimization.
In a forest scene, for example, a seam might be routed through a patch of dark shadows where pixel differences are less noticeable, rather than through a bright, detailed leaf. By choosing a path that avoids moving objects or high-contrast misalignments, the software effectively hides the parallax error from the viewer. This is a common practice in image stitching workflows to ensure visual continuity.
Furthermore, multi-band blending is used to smooth out any remaining discrepancies in color or brightness along the seam. This technique decomposes the images into different frequency bands. Large-scale features like color gradients are blended over a wide area, while fine details like textures are blended over a very narrow area. This prevents the "smearing" effect often seen in lower-quality stitching tools and ensures that even if a slight parallax shift remains, it isn't highlighted by a sudden change in lighting or texture.
Improving Stitching Accuracy with Auto Stitch Tools
Achieving a perfect panorama requires a combination of careful shooting and intelligent software. While you can reduce parallax by using a tripod and rotating around the lens's entrance pupil, modern automation has made it possible to correct many of these errors after the fact. When you use Auto Stitch, the underlying engine performs millions of calculations to identify the best alignment possible, even when the input photos were taken under less-than-ideal circumstances.
For the best results, try to keep your camera at a consistent height and overlap your frames by at least 30% to 40%. This gives the software enough data to find reliable control points and calculate the necessary warps. If you are shooting in a tight space, try to keep the most important foreground elements in the center of a single frame rather than at the overlap edge. This reduces the pressure on the stitching engine to resolve the most extreme parallax shifts.
Ultimately, the goal of Auto Stitch is to make these complex geometric corrections invisible. By automating the identification of control points and the application of local warps, the tool allows you to focus on the composition of your shot rather than the mathematics of the projection. Whether you are capturing a vast mountain range or a detailed architectural interior, these error correction techniques ensure that your final image is a faithful and seamless representation of the world as you saw it.