
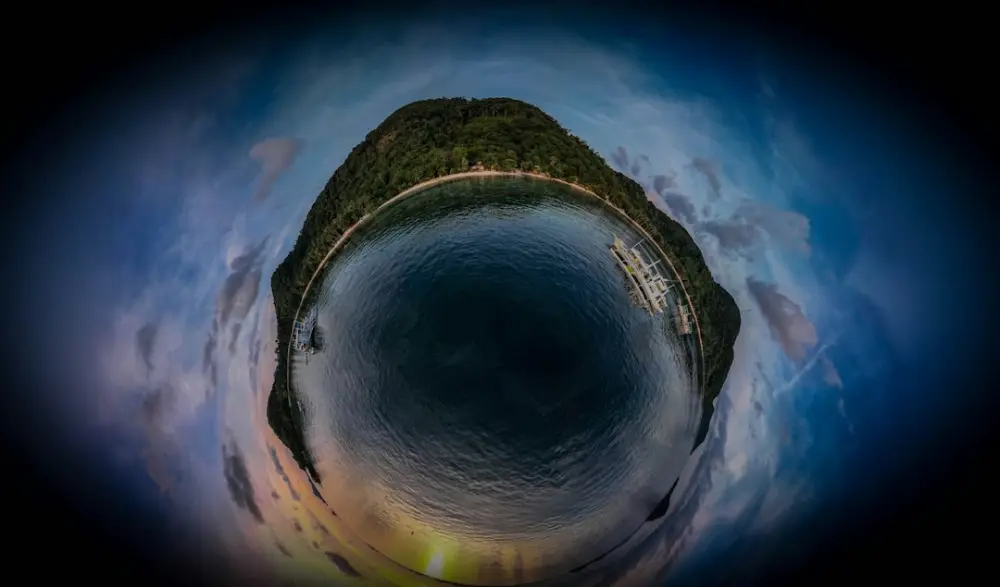
Lens distortion profiles are data sets that identify and correct optical flaws like barrel or pincushion distortion specific to a lens model. In panorama alignment, these profiles ensure overlapping images match precisely by straightening curved edges, preventing ghosting and misaligned horizons during the final stitching process for a seamless result.
Using these profiles moves the stitching process from estimation to precision. When a software engine knows exactly how a 24mm prime lens curves light at the corners, it can mathematically reverse that warp before it ever tries to align the pixels. This pre-processing step is often the difference between a jagged, broken horizon and a fluid, professional panoramic sweep.
Every lens has a unique optical signature. For example, a wide-angle 16mm lens typically exhibits barrel distortion, where straight lines near the edge of the frame bulge outward like the surface of a sphere. Conversely, telephoto lenses may suffer from pincushion distortion, where lines bow inward toward the center. There is also complex "mustache" distortion, common in certain high-end wide-angle zooms, which combines both types. A distortion profile acts as a digital corrective lens, neutralizing these physical limitations of glass and light.
Key features and benefits of profile-based alignment
The primary advantage of using lens profiles is the significant reduction in "ghosting" and "smearing" at the seams. When two images overlap, the software looks for matching features. If the edge of Image A is warped by 3% barrel distortion and the center of Image B is relatively flat, the features will not line up perfectly. By applying a profile, both images are flattened into a common rectilinear projection, allowing for a pixel-perfect match.
Another benefit is the preservation of architectural integrity. In real estate photography, for instance, a panorama of a living room must maintain perfectly vertical walls and horizontal ceilings. Without a lens profile, the stitching engine might forcedly warp the image to make the corners meet, resulting in "leaning" walls or wavy floorboards. Profile-based alignment ensures that the structural geometry of the space remains true to life.
Furthermore, using profiles speeds up the stitching workflow. When the software doesn't have to calculate the lens distortion coefficient from scratch for every new set of images, it can move directly to feature matching. This is particularly useful when processing large batches of high-resolution RAW files from a 2026-era mirrorless camera, where processing power is best spent on blending and color grading rather than basic geometric correction.
Requirements for accurate panorama stitching
To use lens distortion profiles effectively, your image files must contain accurate EXIF metadata. This metadata tells the software the camera make, the specific lens model used, and the focal length at the moment of capture. Without this information, the software cannot automatically select the correct profile from its database. If you are using an older manual lens with an adapter, you may need to enter this data manually to achieve the same level of accuracy.
Consistent focal length is also mandatory. If you are shooting a multi-row panorama, you must lock your zoom. If one frame is shot at 35mm and the next at 38mm, the distortion profiles will vary, creating a mismatch that even the best algorithms will struggle to resolve. Beyond focal length, managing physical movement is vital; checking a parallax and stitching error correction guide can help you understand how to position your camera to minimize errors that profiles alone cannot fix.
Finally, ensure you have sufficient overlap between frames. A standard recommendation is 30% to 50% overlap. This gives the software enough "clean" data toward the center of the lens—where distortion is lowest—to verify the corrections applied to the edges. Even with a perfect profile, relying on the extreme corners of a lens where resolution drops and vignetting is high can lead to softer seams in the final output.
How to apply lens profiles in stitching software
Applying these profiles is usually a straightforward process, but the order of operations matters for the best results. Follow these steps to ensure your panorama is aligned correctly:
- Import and Metadata Check: Load your RAW or TIFF files into your stitching environment. Verify that the software recognizes the lens model. If the "Lens Profile" field is blank, manually search the database for your specific hardware.
- Apply Global Correction: Enable the lens correction toggle. Most modern software will automatically correct for chromatic aberration and vignetting alongside geometric distortion. This ensures that the brightness and color at the edges of your frames match the centers of the adjacent frames.
- Initial Alignment: Run the alignment algorithm. The software will use the profile to project the images onto a virtual sphere or cylinder. Because the distortion is already neutralized, the software should find hundreds of matching "control points" across the overlap zones.
- Refine Control Points: If the horizon looks wavy, you may need to perform manual control point selection in stitching to anchor the images more firmly in problematic areas, such as moving water or cloud-filled skies.
- Final Projection Selection: Once aligned, choose your projection (Spherical, Cylindrical, or Perspective). Because the lens distortion was corrected early, these projections will look much cleaner and require less aggressive cropping.
Common panorama alignment questions and answers
Does a lens profile fix parallax? No. Lens profiles correct optical distortion caused by the shape of the glass. Parallax is a perspective error caused by the camera moving between shots. You need a nodal slide or a panoramic tripod head to fix parallax; the profile only ensures the images are "flat" before they are joined.
Can I use profiles for smartphone photos? Most modern smartphones, including those released through 2026, apply lens correction automatically within the ISP (Image Signal Processor) before the file is even saved. However, if you are shooting in ProRAW or a similar uncompressed format, you may still need to apply a specific profile in your desktop software to get the best alignment.
What if my lens isn't in the database? If you are using a rare or vintage lens, you can use a "Generic" profile or create a custom one. Many open-source projects like Lensfun provide a wide array of user-contributed profiles that can be imported into various stitching tools. Alternatively, you can use a calibration chart to map the distortion yourself, though this is usually only necessary for scientific or high-end archival work.
Improving AutoStitch results with distortion correction
Achieving a seamless panorama is a balance between hardware technique and software intelligence. While automated tools are incredibly capable of finding patterns and blending exposures, feeding them corrected data is the best way to ensure a high-quality result. By using lens distortion profiles, you remove the physical inconsistencies of your equipment, allowing the stitching engine to focus on the creative aspects of the composition.
At Auto Stitch, we believe that professional-grade photography should be accessible through smart, intuitive workflows. When you apply a lens profile, you are essentially giving the software a map of your lens's behavior. This clarity allows for tighter seams and more accurate geometry, especially in wide-angle shots where distortion is most aggressive. Whether you are capturing a mountain range or a tight interior, taking a moment to ensure your lens profiles are active will significantly elevate your final image. This attention to detail transforms a simple set of snapshots into a cohesive, immersive story that feels as wide as the world itself.