
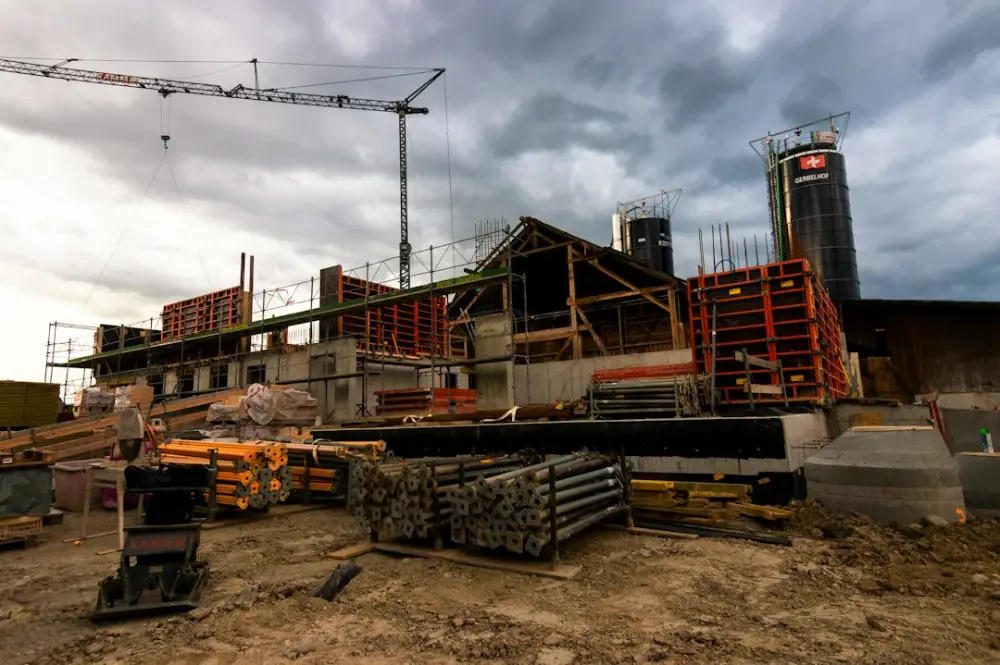
Capturing the full scope of a modern construction project requires more than a standard wide-angle lens. In 2026, the demand for high-resolution panoramic photography and sophisticated photo stitching has surged as developers and project managers seek immersive ways to document progress, verify structural alignment, and create marketing materials. These panoramic views provide a level of detail and context that individual shots simply cannot match, allowing stakeholders to see the entire footprint of a site in a single, high-fidelity image.
However, shooting panoramas in an active industrial environment presents a unique set of challenges. From the technical requirements of avoiding parallax error in tight spaces to the logistical hurdles of navigating a busy worksite, photographers must be prepared for a complex workflow. This guide explores the essential techniques for capturing and stitching professional-grade panoramas while adhering to the strict safety and operational standards required on contemporary building sites.
Essential Equipment for Industrial Panoramic Capture
The foundation of a successful panorama on a construction site is stability and precision. Because construction environments are often prone to vibrations from heavy machinery or unstable ground, a professional-grade tripod is non-negotiable. Look for carbon fiber models that offer a high strength-to-weight ratio, as you may need to move quickly between different levels of a structure. A leveling base is also a critical addition, allowing you to ensure the rotation axis is perfectly vertical without having to fiddle with individual tripod leg lengths on uneven debris.
To achieve seamless stitching, especially when capturing interior structural elements or close-up utility runs, a panoramic head is required. This tool allows the camera to rotate around the lens's nodal point (or no-parallax point). Without this, foreground objects will shift position relative to the background between shots, creating "ghosting" or alignment breaks that are nearly impossible to fix in post-processing. For 2026 standards, many photographers are also utilizing automated robotic heads that can capture hundreds of bracketed images for high-dynamic-range (HDR) panoramas with perfect overlap and consistency.
Navigating Site Access and Safety Requirements
Before any equipment is even unpacked, a photographer must understand the hierarchy and safety culture of the site. Every person on a construction project is responsible for maintaining a secure environment. When working on a live build, photographers must coordinate closely with the site manager who has completed their SMSTS London training to ensure all capture points are safe and do not obstruct active work zones. This coordination ensures that the photography schedule does not conflict with high-risk activities like crane lifts or concrete pours.
Personal Protective Equipment (PPE) is mandatory. This typically includes a high-visibility vest, steel-toed boots, a hard hat, and safety glasses. Beyond personal gear, you must consider the safety of your equipment. Tripod legs should be marked with high-visibility tape to prevent workers from tripping over them, and cables should be managed strictly. This article provides general information regarding site standards and is not professional legal or safety advice. Always follow the specific directives of the site safety officer during your shoot.
Managing Dynamic Range in Uncontrolled Lighting
Construction sites are notorious for difficult lighting. You might have a dark interior space with raw concrete walls adjacent to a massive unglazed window opening where the sun is streaming in. Standard exposure settings will either blow out the highlights of the exterior or leave the interior details in total darkness. To combat this, the technique of bracketed HDR panoramic photography is the industry standard. This involves taking three, five, or seven exposures at different brightness levels for every single frame in the panoramic sequence.
When stitching these images later, the software uses the best-exposed parts of each bracket to create a single frame with a massive amount of detail in both the shadows and the highlights. It is important to keep the aperture consistent across all shots to maintain a uniform depth of field. Use a manual white balance setting rather than auto; if the white balance shifts halfway through a 360-degree rotation because of a change in light source, the stitched result will have unsightly color bands that are difficult to correct.
Techniques for Flawless Photo Stitching
The stitching process is where the raw data becomes a cohesive visual asset. Modern software has become incredibly adept at identifying control points—matching features in overlapping images—but the quality of the output still depends on the input. Aim for an overlap of at least 30% to 50% between frames. This provides the software with enough redundant data to account for lens distortion and slight movements. In busy environments where workers or vehicles are moving, you may encounter "people ghosts" where a person appears in one frame but not the next.
To resolve this, use masking tools within your stitching software to choose which version of the overlapping area to keep. Many professional stitchers now use AI-driven tools to automatically remove moving objects, but manual oversight is still necessary to ensure structural lines remain straight. Pay close attention to vertical lines in the architecture; use the software’s vertical control point feature to ensure that columns and walls are perfectly upright. This is vital for construction documentation where the image might be used to visually verify the plumbness of a structure.
Post-Processing for Technical Documentation
Once the panorama is stitched, the final steps involve color correction and metadata management. For construction photography, accuracy is more important than artistic flair. Avoid heavy filters or unrealistic saturation. The goal is to represent the materials—concrete, steel, timber, and glass—exactly as they appear in reality. Neutral color grading ensures that site inspectors or architects can use the photos to identify specific material types or potential issues like moisture staining or rust.
Finally, ensure that the metadata of the panoramic file is preserved. In 2026, many project management platforms can automatically read GPS data and directional headings embedded in the image. This allows the panorama to be pinned to a specific spot on the digital site plan. When the file is uploaded, the software can orient the viewer correctly, showing exactly which part of the building they are looking at. This integration of panoramic photography and geospatial data is a powerful tool for modern project lifecycle management, providing a permanent, searchable record of the build process.